How to photograph food well
Editorial Team
3 min read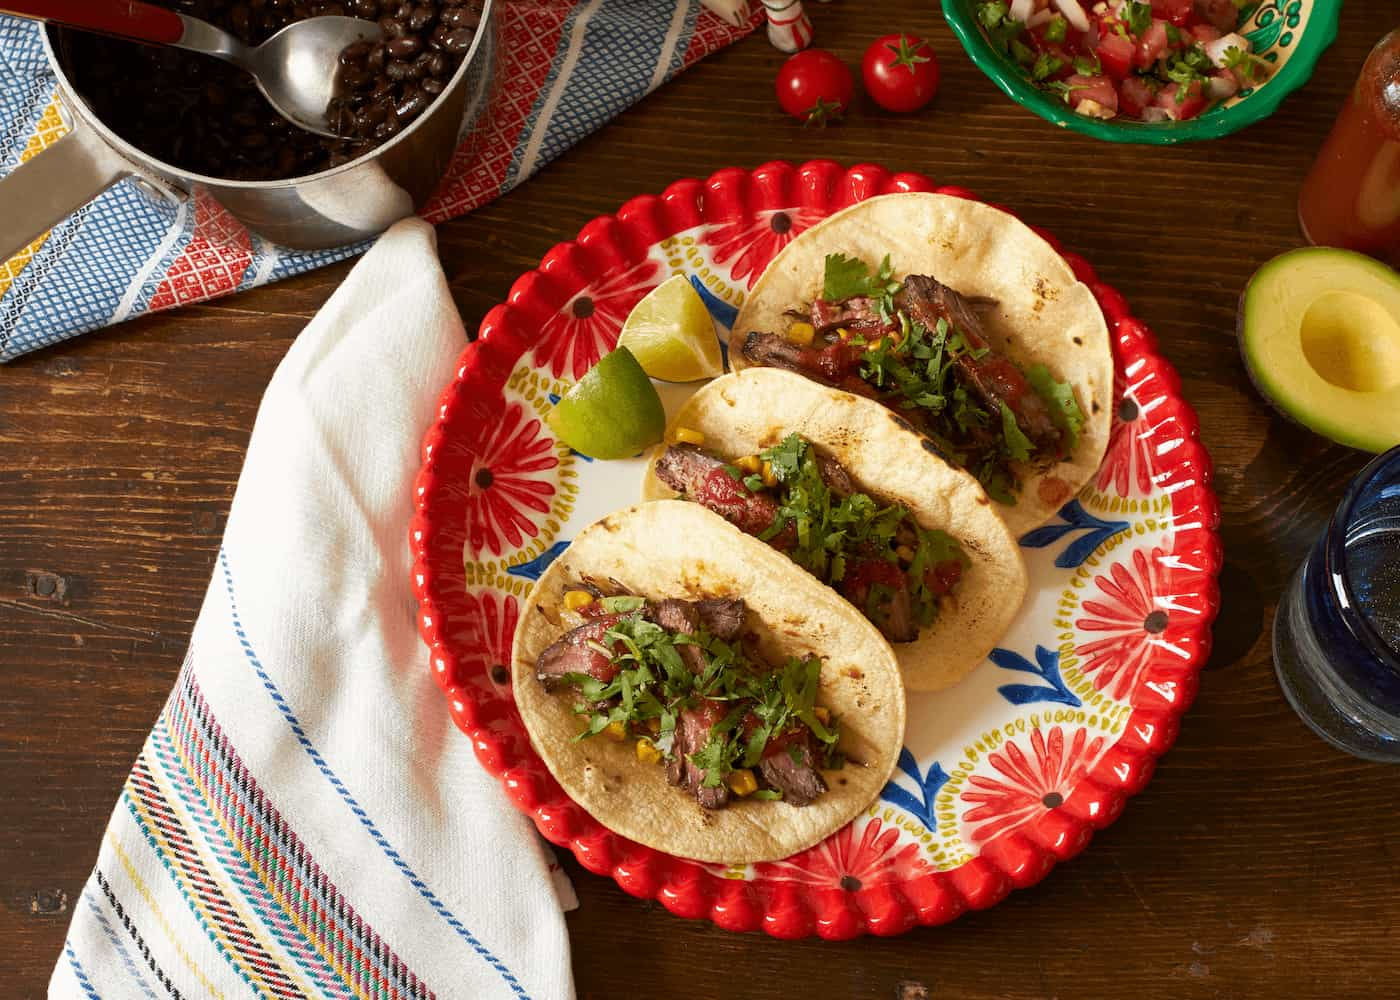
If you’ve ever tried to take a picture of your meal for Instagram, you know that beautiful food photography isn’t as easy as it looks. And yet it’s crucial for restaurants and food businesses.
In fact, including pictures of food on your online menu can help you increase sales by as much as 30%. Clover Online Ordering now allows you to easily add images to your online menu—read on for more on how to take great food photos to share.
Here are 5 food photography tricks that will help you show off your hard work in the best light:
1. Think about the story you’re telling.
Your food photos should help you tell the story of your business and your brand. Think about what kind of atmosphere you want to showcase and what the best features of the food and restaurant are. If your brand is all about abundance, an overhead shot of a crowded table might be best. If you’re all about the comfort food, you could try a close-up of a juicy burger or ooey, gooey cheese. A little planning can improve your photos immensely.
2. Plate carefully and style the scene.
Don’t be afraid to get creative with your food photography. Of course, you’ve got to work with the materials you have so your photos accurately represent the experience customers will have when they come in. But make sure you style the scene carefully, adding or subtracting napkins, glassware, condiments, and other ‘props’ to create the best image. And take care with your plating—arrange the food with an eye to showcasing natural colors and creating a plate that looks full. Use a salad plate if necessary to avoid having too much empty plate space, and let your artistic side out when you add that little dollop of sauce just so.
3. Great food photos require great lighting.
Natural light is always best, but don’t put your food in direct sunlight–and never use a flash. The light from direct sunlight will be too harsh and the shadows too deep–and a flash will wash out the colors in your image. Instead, aim for bright, but indirect, natural light. The real pros will use something called a bounce board to direct the light where they want it and fill in shadows. If you’re not getting the look you want, there are lots of cheap and DIY options you can try.
4. Consider composition.
Here’s another pro-tip: great photographers often use something called the “rule of thirds” to compose their images. Basically, if you imagine your image is divided into a 3×3 grid, you’re trying to get the main focus of your image aligned with the lines and intersections of the grid. And placing your subject to one side or the other of the image, using that grid, can often create a more dynamic-feeling image. If you’re using a smartphone, check your camera app settings—most have the option to overlay a grid while you’re shooting to help you think about your composition.
5. Experiment!
Great photographers don’t walk into a photo shoot, take one perfect shot, and then walk away. They take hundreds of pictures, from many different angles, and choose the best two or three to use. Don’t be afraid to experiment—shoot the same dish from above and from the side, shoot multiple dishes together and one showstopper item alone, or try adding a prop or a garnish if the image feels flat. Great food photography, like anything else, takes practice.
For more small business tips, be sure to follow the Clover blog.
Related Posts
Build customer relationships with CRM and Beyond
Happy hour overhaul: Rethinking your drink special (Part 1)
Popular Topics
Stay In Touch
Sign up and learn more about Clover.
Thank you for your subscription!
Recent Stories
- Jewelry store supplies and equipment needed for opening day
- How small businesses can use employee discounts to retain staff
- Tips and tricks for opening an outdoor pop-up restaurant
Please share your contact information
to access our premium content.
Thank you for sharing your contact information.
Download Now