
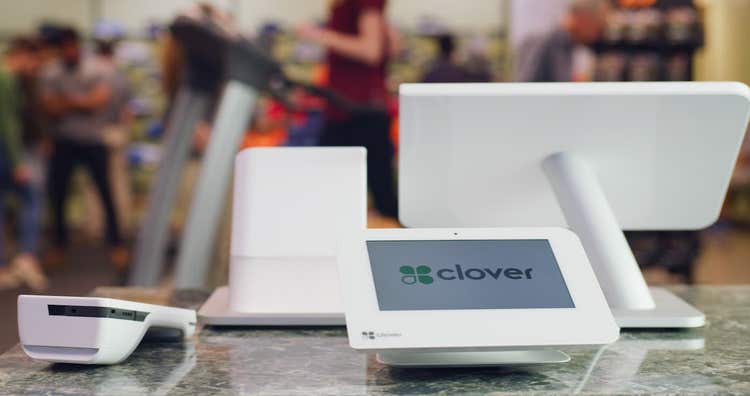
In today’s fast-paced business landscape, an efficient point of sale system is crucial for maintaining smooth operations and delivering exceptional customer experiences.
Which is why many businesses can find themselves struggling with outdated or inadequate POS systems that no longer meet their needs. This can make switching to a robust and versatile system such as Clover a necessity in order to revolutionize your business processes, which in turn can drive growth.
This guide will walk you through the process of switching POS systems to Clover with ease, ensuring minimal disruption and maximum efficiency.
Step 1: Evaluate your current POS system
The first step in transitioning to Clover is to thoroughly evaluate your current POS system. This is because it is essential to understand the limitations and challenges of your existing setup in order to make a smooth POS switch and ultimately select the right model for your business.
Assess the limitations
Identify the specific pain points with your current POS system to find what is missing.
- Slow transaction processing: Delays during transactions can frustrate customers and slow down service, leading to longer wait times and potential loss of sales.
- Limited POS features: Your current system might lack essential features, such as inventory management, employee management software, or customer relationship management (CRM) software, which are critical for efficient operations at any business.
- Inadequate support: Difficulty in getting timely support and troubleshooting can disrupt operations, causing unnecessary downtime and potential revenue loss.
- Unoptimized hardware: The wrong type of POS hardware can hinder your business, while solutions such as a self-service Kiosk or portable Clover Mini can keep your fast-paced business moving.
Identify required features
It can be helpful to determine the features and improvements you need in a new POS system. Consider making a list of functionalities that are crucial for your business when choosing a POS system with Clover.
- Advanced reporting: Detailed sales and performance reports to aid in decision-making, providing insights into your business’s financial health and potential areas for growth.
- Inventory management: Real-time tracking of stock levels, ensuring you always meet the demand of your customers.
- Customer management: Tools to manage customer data, loyalty programs, and personalized marketing, helping you build stronger relationships with your clientele.
Match your needs with Clover’s capabilities
Next, research how Clover can meet the needs of your business. Clover offers a range of features tailored to countless industries, ensuring that it can handle your specific requirements as efficiently and impactfully as possible.
Clover’s flexibility allows customization to fit industries such as retail, restaurant, personal services, and more – making it a versatile choice for any business.
Step 2: Plan your POS migration
Planning your POS transition is crucial to avoid potential disruptions to your business operations. A well-structured plan can help ensure that the switch is as seamless as possible and includes the following steps.
Developing a timeline
Create a timeline that outlines each step of your anticipated POS transition process. With this, it is important to consider factors such as:
- Non-peak hours: Schedule the transition to occur during non-peak hours or off-days to minimize impact on daily operations, ensuring that your busiest times are unaffected.
- Buffer periods: Allow time for POS system testing and troubleshooting to ensure everything is working correctly before going live. This buffer can help address any unforeseen issues with little to no stress.
Communicating with your team
It’s important to inform your team about the upcoming change. Clear communication can help in managing expectations and preparing staff for the new POS system. Some key points to consider covering and communicating include:
- POS training schedules: Let your employees know when training sessions will occur, ensuring they have ample time to adapt to the new POS.
- Role changes: Highlight any changes in roles or responsibilities due to the new POS system, and explain how these changes will benefit the business and their workflow.
Creating a checklist
Prepare a detailed checklist of all the tasks that need to be completed before switching POS systems. This can help ensure nothing is overlooked and includes:
- Data backup: Ensuring all data from the current POS system is backed up to prevent data loss during the transition.
- Hardware setup: Setting up and testing your new Clover hardware to confirm compatibility and functionality.
- Software installation: Installing and configuring your Clover software to tailor the system to your business’s unique needs.
Step 3: Backup and transfer your POS data
Data is the backbone of your business operations and should be carefully protected. Properly backing up and transferring data to your new POS is critical to avoid loss, ensure continuity, and provide safety to your customers. This data can include:
- Sales data: Historical sales records and transaction details that are vital for financial reporting and analysis.
- Inventory data: Current stock levels, product details, and supplier information that ensure smooth inventory management.
- Customer data: Customer profiles, purchase history, and loyalty program details that are essential for maintaining strong customer relationships.
How to export data
Clover allows data to be transferred in common formats, such as CSV or Excel. Follow these steps when you’re ready to export data from your current POS:
- Access the export function: Locate the export function in your current POS system. This is typically found in the settings or administration panel.
- Select data categories: Choose the data categories you need to export, such as sales, inventory, and customer data.
- Save files securely: Save the exported files securely, preferably in multiple locations, such as cloud storage and external drives, to ensure adequate backup.
Secure data transfer
Once the data has been backed up securely, transfer it to your new Clover POS system. If you need additional support with migrating your data, Clover provides supplemental tools and customer support to help. When you’re ready to migrate, follow these steps:
- Import data: Use Clover’s import function within the dashboard to upload your data, following the provided guidelines to ensure compatibility.
- Verify accuracy: Check the imported data for accuracy and completeness, comparing it with the original data to spot any discrepancies.
- Secure storage: Ensure data is stored securely in Clover’s cloud-based system, which offers robust security measures to protect sensitive information.
Step 4: Set up your Clover POS system
Setting up a Clover POS involves hardware assembly as well as software configuration. This step is one of the most crucial to ensure that your new system is ready to go live when you are.
Assemble POS hardware
Clover offers a range of hardware options, including complete POS solutions, virtual terminals, handheld POS systems, and POS accessories. Follow these steps when setting up a POS system with Clover:
- Unbox POS system: Carefully unbox all POS system components, ensuring nothing is missing or damaged from shipping.
- Assemble devices: Follow the assembly instructions provided by Clover, which typically include connecting cables and attaching peripherals.
- Connect to network: Connect the devices to your business network (WiFi or Ethernet) for seamless communication between POS software and hardware.
Set up POS software
Configuring your Clover POS software is essential for tailoring it to the needs of your business. Follow these steps to get started:
- Activate your account: Use your Clover account credentials to log in and activate your account.
- Setup: After logging in, start completing setup tasks such as a confirming your business informationand adding the items or services you offer.
Step 5: Go live with Clover
Going live with your new Clover POS is the final step in switching systems. Prioritizing proper execution, along with training employees, can help ensure a smoother transition with minimal disruption to your business – helping you hit the ground running.
Follow these best practices to help ensure a successful launch of your new POS system:
- Soft launch your POS: Consider a soft launch where the new system runs alongside the old one for a short period, allowing you to address any issues before full implementation.
- On-site support: Have technical support available on-site to assist with any issues. This could include scheduling managers or more experienced employees during the transition to support troubleshooting.
- Create a helpline: Set up a dedicated helpline for employees to call for assistance, ensuring they have access to help whenever needed.
- Regular check-ins: Schedule regular check-ins with staff to address any concerns or questions, offering continuous support during the transitional period.
- Customer communication: Inform customers about the new system and any potential changes in service, managing their expectations and maintaining trust.
Switching POS systems is easy with Clover
Switching to a new POS system can seem daunting, but with careful planning and streamlined execution, the transition can be smooth and surprisingly headache-free.
If you follow the six simple steps outlined above, you can successfully switch to Clover POS, enhancing your business’ overall operations and delivering best-in-class service to your customers. With Clover’s robust features and reliable support, it is an excellent choice for any and all businesses looking to upgrade their POS system.
Why wait? Elevate your business and get started with Clover POS systems today.
Stay in touch
Sign up and learn more about Clover.